The Role of Daily Opening Checklist
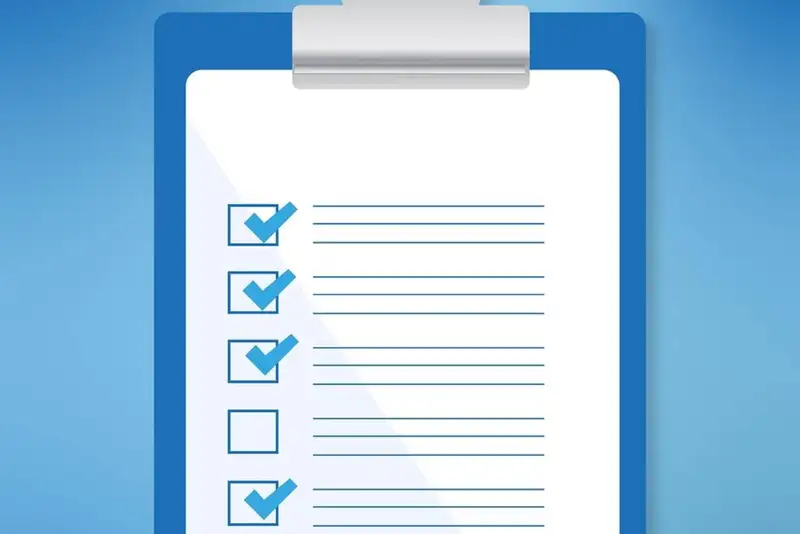
That's where a restaurant opening checklist comes in. It's a simple but powerful tool that helps your team stay organized, focused, and accountable. The right checklist ensures that everything from food prep to station setup to front-of-house cleanliness is handled before the first customer walks in.
But not all checklists work equally well. If your team finds it confusing, time-consuming, or too long, they're less likely to follow it. This guide walks you through how to build a restaurant opening checklist that's realistic, easy to use, and actually gets done - every single day.
Define the Essential Opening Tasks

Start by walking through each area of your restaurant as if you were opening it yourself. In the kitchen, this might include turning on equipment, checking fridge temperatures, prepping ingredients, and making sure all prep stations are clean and fully stocked. In the front-of-house, tasks might include arranging tables and chairs, checking the restrooms, setting up host stands, and reviewing reservations or expected guest counts for the day.
It helps to organize these tasks by zone - kitchen, bar, front-of-house, restrooms, and storage areas. This makes it easier to assign specific areas to team members and prevents overlap or confusion. For example, a server might be responsible for wiping down tables and filling condiment caddies, while a cook checks prep items and restocks the line.
One area that often gets overlooked is cleanliness. Including a simple cleaning checklist as part of your opening routine ensures your space is spotless before the first customer arrives. This might include sweeping and mopping floors, sanitizing surfaces, cleaning bathroom mirrors and counters, and taking out trash. Keeping this section short and direct helps maintain health standards without slowing the team down.
By clearly defining these daily opening tasks, you lay the foundation for a checklist that is easy to follow and repeat. Your goal is to create a system that keeps your restaurant running like clockwork - predictable, efficient, and always ready to deliver a great experience.
Create, Implement, and Execute Multiple Daily Checklists
Streamline Your Operations with Altametrics
Make Tasks Clear and Action-Oriented
Step 1 - Use Action Verbs
Each item on your checklist should begin with a strong, direct action word. Instead of writing floor, say sweep and mop the dining room floor. Instead of check fridge, write check fridge temperature and record it on the log. These small changes reduce confusion and keep your team moving with purpose.
Step 2 - Avoid Vague Instructions
Phrases like prep food or check supplies may seem simple, but they leave too much room for interpretation. One employee might think that prep food means chopping veggies, while another may assume it means prepping the fryer station. Spell out what needs to be done. For example-
-Slice tomatoes and onions for sandwich station
-Fill condiment trays at the front counter
-Restock napkins and straws at all tables
Step 3 - Keep It Short and Digestible
Long-winded or overly detailed instructions can overwhelm staff, especially during a fast-paced morning shift. Keep your language simple and direct. Aim for one task per line, and break more complex duties into smaller, manageable actions.
Step 4 - Write With Your Team in Mind
Think about who will be using this checklist. If you have new hires or team members with varying levels of experience, your instructions should be written so that anyone can pick it up and complete the work confidently. Use common language and stay consistent in tone across all checklist items.
By making your checklist action-oriented and easy to understand, you're not just listing tasks - you're building a system that sets expectations, eliminates confusion, and boosts productivity from the moment your doors open.
Assign Responsibilities to Build Accountability
Step 1 - Match Tasks to Roles
Begin by reviewing each task and asking, Who is best suited to complete this? For example -
-Line cooks might handle prepping ingredients, checking kitchen equipment, and stocking the cookline.
-Servers may be responsible for setting up the dining room, filling water stations, and prepping silverware.
-Shift leaders could be in charge of unlocking doors, checking the daily schedule, and inspecting all areas before opening.
By aligning checklist tasks with job roles, you streamline the process and reduce overlap.
Step 2 - Add Names or Titles
On the actual checklist, include either the job title or the person's name next to each task. For example -
-Sweep and mop the kitchen floor - Line Cook
-Restock host stand - Host/Hostess
-Confirm POS system is ready - Shift Manager
This makes expectations clear and eliminates confusion at the start of the shift.
Step 3 - Encourage Ownership
Once tasks are assigned, encourage your team to take ownership of their section. Make it part of your morning routine for each person to check off their tasks and report when their area is ready. Managers or leads should do a quick walk-through to verify completion and address anything that's been missed.
By assigning responsibilities up front, your checklist becomes more than a list - it becomes a daily workflow with structure, accountability, and teamwork built in.
Organize the Checklist for Ease of Use
Step 1 - Break the Checklist Into Sections
Divide your checklist into logical categories based on how your team works. You might choose to group tasks by -
-Location (kitchen, front-of-house, restrooms, bar, storage)
-Timing (before 9-00 AM, before opening, final check)
-Team Role (manager, cook, server, dishwasher)
This structure allows team members to focus on their areas without scanning through irrelevant tasks. For example, a server can go straight to the Front-of-House section, while a line cook heads to Kitchen Opening Tasks.
Step 2 - Keep It Visually Simple
Don't overcrowd your checklist. Use bullet points, spacing, and bold headings to separate sections clearly. Avoid cramming everything into a single block of text - doing so makes it harder to follow and easier to ignore.
Consider using tables or two-column layouts where one side shows the task and the other shows the assigned role or initials. This format keeps everything neat and easy to scan at a glance.
Step 3 - Sequence Tasks Logically
Order tasks the way they should be completed. For example, cleaning should happen before stocking, and equipment checks should be done before food prep begins. This sequencing helps your team flow naturally from one task to the next, improving both speed and efficiency.
When your checklist is organized in a way that mirrors real life, it becomes second nature for your staff. Instead of something they have to think about, it becomes something they rely on to open strong - every shift, every day.
Effortlessly Create, Implement, and Execute Multiple Daily Checklists
Optimize Your Daily Operations with Altametrics
Use a Digital Restaurant Opening Checklist
Step 1 - Make It Accessible Anywhere
Digital checklists can be accessed from tablets, phones, or shared computers. This flexibility makes it easy for each team member to check off tasks as they go, no matter where they are in the restaurant. A cloud-based solution ensures that updates are saved instantly and can be reviewed at any time, even if you're off-site.
Step 2 - Improve Team Accountability
Many digital tools allow you to assign tasks, set deadlines, and see who completed what. If a prep station wasn't set up or the floors weren't cleaned, it's easy to trace it back. This level of accountability helps prevent recurring issues and encourages your team to stay on task.
Step 3 - Save Time and Reduce Errors
With a digital checklist, you no longer need to print and distribute sheets every week. You can easily update items, reorder tasks, or create variations for different days or shifts. This saves time and ensures your list stays relevant as your restaurant's needs change.
Switching to a digital checklist - especially one that's cloud-based- can transform the way your team opens the restaurant each day. It reduces the risk of missed tasks, eliminates paper waste, and provides managers with clear visibility into daily operations.
Test, Train, and Adjust
Step 1 - Test the Checklist in a Real Shift
Roll out your checklist during a regular opening shift and observe how your team uses it. Take notes on what flows smoothly and where there's hesitation or confusion. Are any tasks unclear? Are some items missing? Watch how long it takes your staff to complete the list - if it's too time-consuming, they may start skipping steps.
Step 2 - Train Your Team on How to Use It
A checklist is only useful if everyone knows how to follow it. Set aside time during a pre-shift meeting or a slower day to walk through the checklist with your team. Go over each task, explain expectations, and answer questions. Make sure each employee understands not just what to do, but why each task matters.
Reinforce the checklist as part of your training for new hires. When it becomes a daily habit from the beginning, it's more likely to stick.
Step 3 - Gather Feedback and Make Improvements
Ask for input from your team after using the checklist for a week or two. They'll have valuable insights on what's working, what's unclear, or what could be done more efficiently. Be open to tweaking your checklist regularly so it continues to meet your restaurant's needs.
The best checklists are living documents. They evolve with your operations, making sure your team is always set up for a smooth and successful opening.
Keep It Visible and Reinforced
Step 1 - Post or Share Where It's Easy to See
For physical checklists, print and post them in strategic spots - on the kitchen wall, inside storage rooms, or near the host stand. Use waterproof covers or lamination to keep them clean and durable. For digital checklists, make sure they're bookmarked on tablets or phones used by the team, or pinned to a shared dashboard if your team uses one.
The goal is to make the checklist part of the environment. When it's always within view, it becomes a natural part of the team's routine.
Step 2 - Reinforce It With Daily Habits
Encourage shift leads or managers to start each day with a quick review of the checklist. A morning walk-through can serve as both a reminder and a motivator. Reinforcing the checklist at the beginning of each shift helps everyone treat it as part of their job - not an extra step.
You can also include it in your pre-shift meetings. Take 2 - 3 minutes to highlight any updates or focus points. This shows your team that the checklist isn't just a formality - it's a tool for success.
Step 3 - Lead by Example
When managers and supervisors actively use and refer to the checklist, it sets the tone for the entire team. If leadership treats the checklist as important, your staff will follow suit.
With visibility, daily reinforcement, and clear leadership support, your checklist becomes more than a task list - it becomes a daily standard that drives performance and professionalism.
Take Control of Your Operations Team's Tasks
Discover Seamless Workflow Management with Altametrics
Frequently
Asked Questions
What's the best way to assign checklist tasks to employees?
How can digital checklists improve restaurant operations?
Should I include safety checks in the restaurant opening checklist?
How can technology help enforce checklist completion?
Must-Read Content
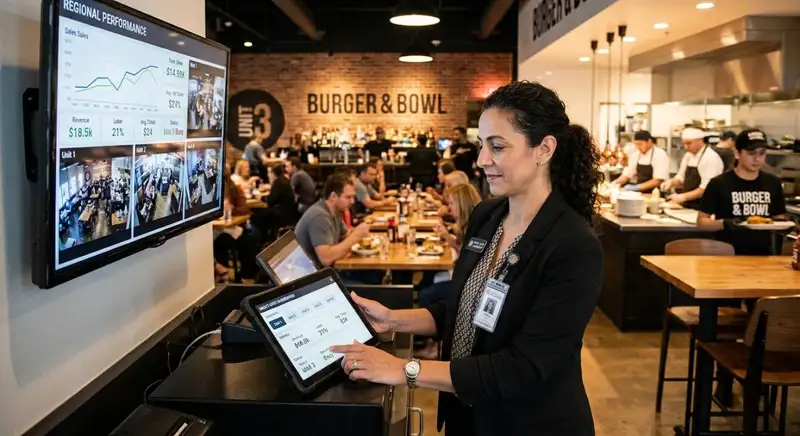
How AI Is Transforming Multi-Unit Restaurant Management
AI helps multi-unit restaurant operators forecast demand, optimize labor, detect anomalies, ensure consistency, refine menus and pricing, and adopt tools gradually, freeing managers to focus on hospitality.

Restaurant ERP Explained - What It Is, How It Works, and Its Benefits
Restaurant ERP connects essential operations, improves cost control, centralizes business information, streamlines workflows, and helps owners make informed management decisions.

10 Benefits of All-in-One Restaurant Management Software
All-in-one restaurant management software streamlines operations, improves communication, reduces administrative work, controls costs, strengthens workforce management, and supports informed business decisions.